
Dashboard Overview
Navigate the main dashboard — your central hub for managing workspaces, sites, and team members.
The dashboard is your starting point after logging in. From here you manage all your workspaces, sites, and team members.
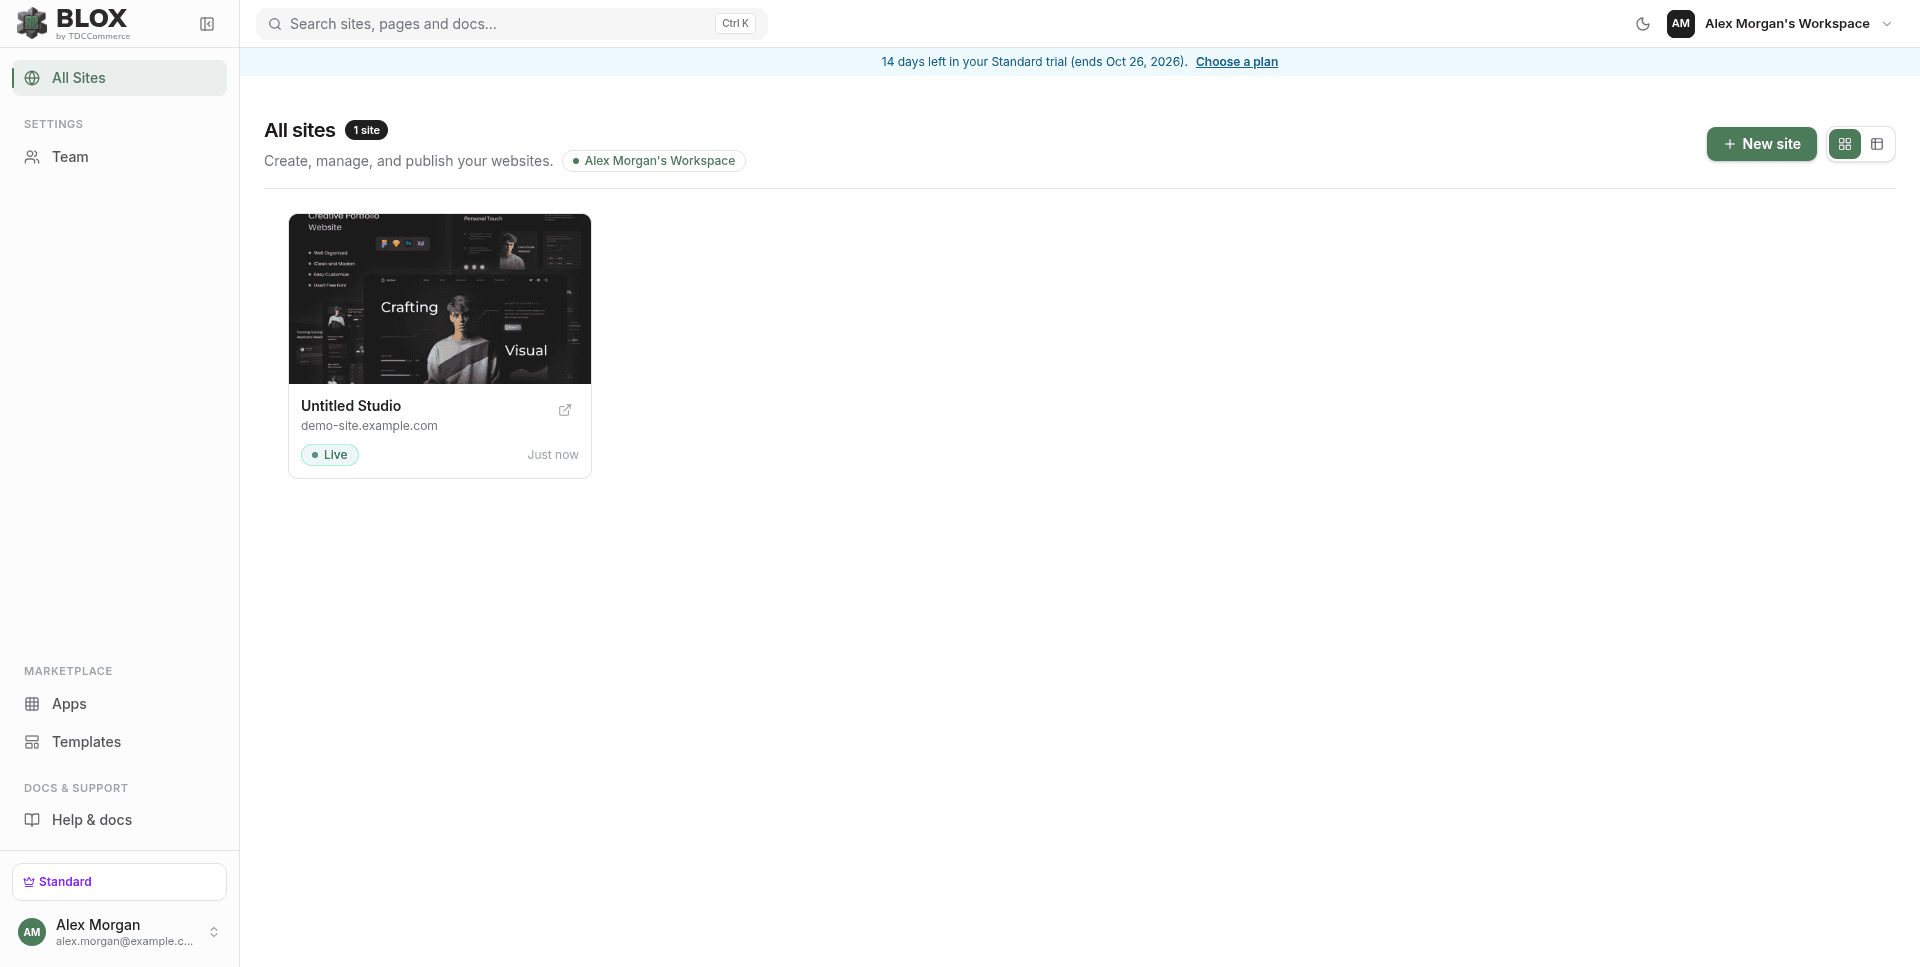
Workspace Switcher
The workspace switcher sits in the sidebar on the main dashboard page and shows your currently active workspace. On mobile, it's tucked inside the menu behind the hamburger icon instead. It doesn't appear on other pages like your Profile or Webhooks & API — those work across whichever workspace you were last in.
Click it to open a dropdown that lists every workspace you belong to. A checkmark marks the active one.
A workspace is created automatically when you register, so you don't need to create one manually before adding your first site.
Creating a New Workspace
- Click the workspace switcher.
- Select Add New Workspace at the bottom of the dropdown.
- Enter a Workspace Name (minimum 2 characters).
- Click Create Workspace.
The new workspace becomes active immediately. Creating additional workspaces may be limited by your plan.
When you sign in or return to the dashboard, your primary workspace opens. Choose it under Profile → Workspaces. You can select any workspace you belong to, and switching workspaces does not change your primary choice. If your primary workspace is no longer available, your oldest accessible workspace opens instead.
Dashboard Tabs
The main dashboard can show up to two tabs, depending on your role in the workspace:
- All Sites — every site in the current workspace. Visible to everyone.
- Team — invite and manage members. Visible only if you can manage members.
By default, Workspace Admins and the workspace owner can manage members, so they see the Team tab. Workspace owner controls are on Profile → Workspaces.
Sites Tab
The default view. Shows all sites in the current workspace.
Each site card displays:
- Site name
- Domain (custom domain or subdomain)
- Status badge — Live or Draft
- When it was last edited
Live doesn't necessarily mean your content is published — it just means the site has a domain attached (a custom domain, or the temporary subdomain assigned automatically when you create the site). A brand-new site can show Live immediately, before you've published anything. Use the site card's Publish site action, or the editor's own Publish button, to actually push your changes out — see Saving & Publishing.
Each card also has a three-dot menu with:
- Edit site — opens the site's details page.
- Open site — opens the live site in a new tab.
- Publish site — opens a dialog to publish specific pages, the shared layout, or the whole site without going into the editor.
Searching sites — Use the search bar to filter by name, subdomain, or custom domain. Results update as you type.
Pagination — The first 10 sites are shown, sorted by most recently edited. Click Show all to load every site in the workspace; click Show less to collapse back.
Creating a site — Click New site (this is disabled if you don't have permission to create sites, or if you've reached your plan's site limit). A dialog asks how you want to start:
- AI site builder — skips naming and takes you straight into the editor, where AI generates a starting point for you.
- Blank site — enter a Site name and click Create site.
- Import site — if enabled for your plan, create a site from an exported
.zipfile instead.
After creating a blank site, you land on its Overview page rather than the editor itself. From there, click Open Editor to start designing, or the General tab to configure its settings.
Workspace Settings
Workspace settings are on Profile → Workspaces, rather than in the dashboard sidebar. Choose Manage beside a workspace you own to rename it. Deletion is available there when you own at least one other workspace, with workspace-name confirmation.
See Profile → Workspaces for details.
Team Tab
Invite people to your workspace and manage existing members.
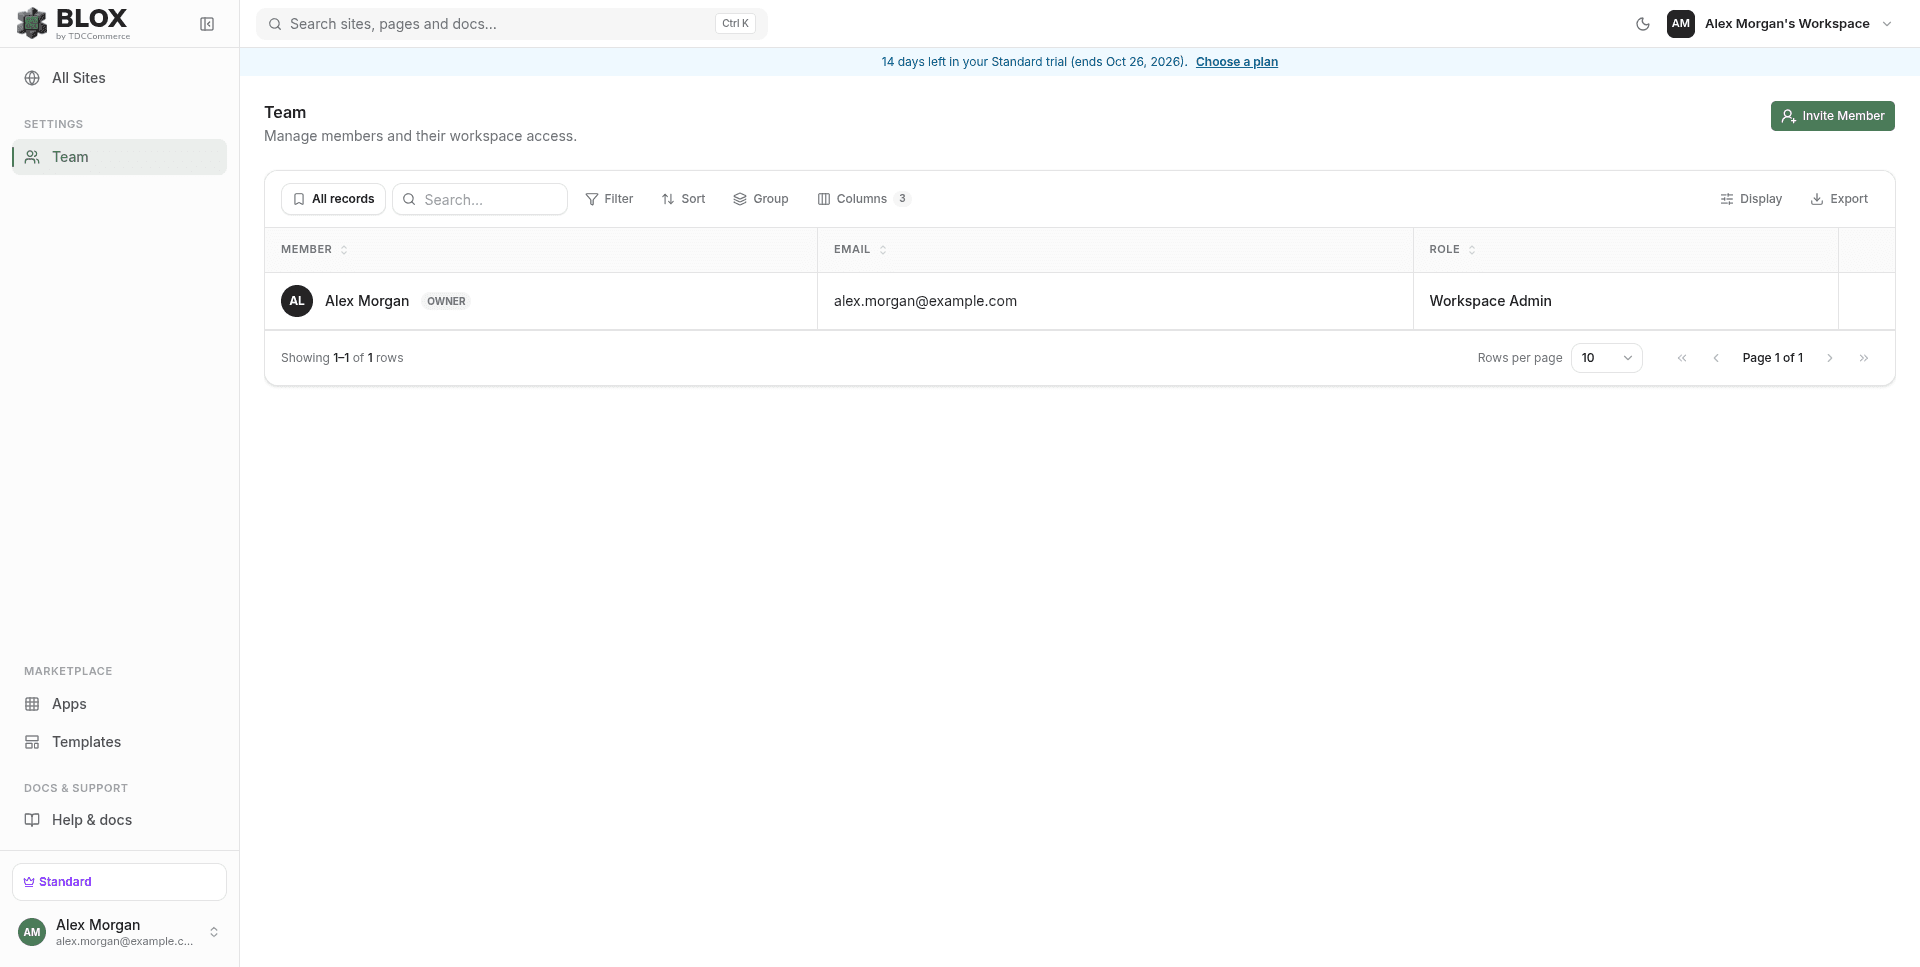
Inviting and managing members requires permission to manage the workspace's team — by default, only Workspace Admins and the workspace owner have it. Other members can see this tab, but their invite and management actions will be blocked.
Inviting Members
- Click Invite Member.
- Enter the person's email address.
- Select their Role — Workspace Admin, Workspace Member, or Workspace Viewer.
- Choose whether they get access to all sites or only specific ones. If you pick specific sites, you'll also choose a site-level role — Site Admin, Site Manager, Site Designer, or Site Viewer — for each one.
- Click Send invite to email them an invitation, or Copy invite link to generate a shareable link instead — anyone with the link can join with the role and access you set.
Until an emailed invite is accepted, it appears in the Pending Invitations section and expires after 7 days.
Managing Members
For each member you can:
- Change their role — Use the role dropdown next to their name. Not available for the workspace owner or for your own row.
- Remove them — Open the three-dot menu and click Remove from workspace, then confirm. Not available for the owner.
- Adjust their site access — Click Manage site access in the same menu to change which sites they can reach without removing them.
If you're the owner, the same menu also lets you Transfer ownership to another admin. Your own row shows Leave workspace instead of a remove option.
Cancelling a Pending Invite
In the Pending Invitations section, click the X (close/cancel) button at the right end of the invite you want to withdraw.
Account & Profile
Click your avatar or name in the top-right corner of the header, then select Profile to access your account settings. From there you can:
- Update your name and email
- Change your password
- Enable two-factor authentication
- Register a passkey
- Choose your primary workspace and manage workspaces you own
- Delete your account
See Profile for all of the above in detail. Open Plans & Billing from the account menu to manage subscriptions, payment methods, invoices, and AI credits.
API keys and webhooks aren't managed from the Profile page — click your avatar and select Webhooks & API instead.
See the Billing and Developer sections for details on those areas.
Related
- Visual Editor Overview — Where Open Editor takes you once a site exists.
- Page Manager — The site-level page you land on after creating a site.
- Profile — Full detail on the account settings reached from the avatar menu.
- Plans & Billing — Workspace, site, and seat quotas referenced throughout this page.
- Webhooks & API — Where API keys actually live.